
I'm off at The Sisters Outdoor Quilt Show but I used the 'Post Option' feature to select a future date, so this goes out on Friday, when I'm not even home or at my computer. (Post options bottom left of edit box, select a time and a publishing date, make your post, then click publish.
It wont' go on your blog until the scheduled time, but when it does...it's magical! And believe it or not, you can even go back in time, and it will still publish two days ago. I know because I did it. I just love traveling through time and space like that. It truly is just plain magical.
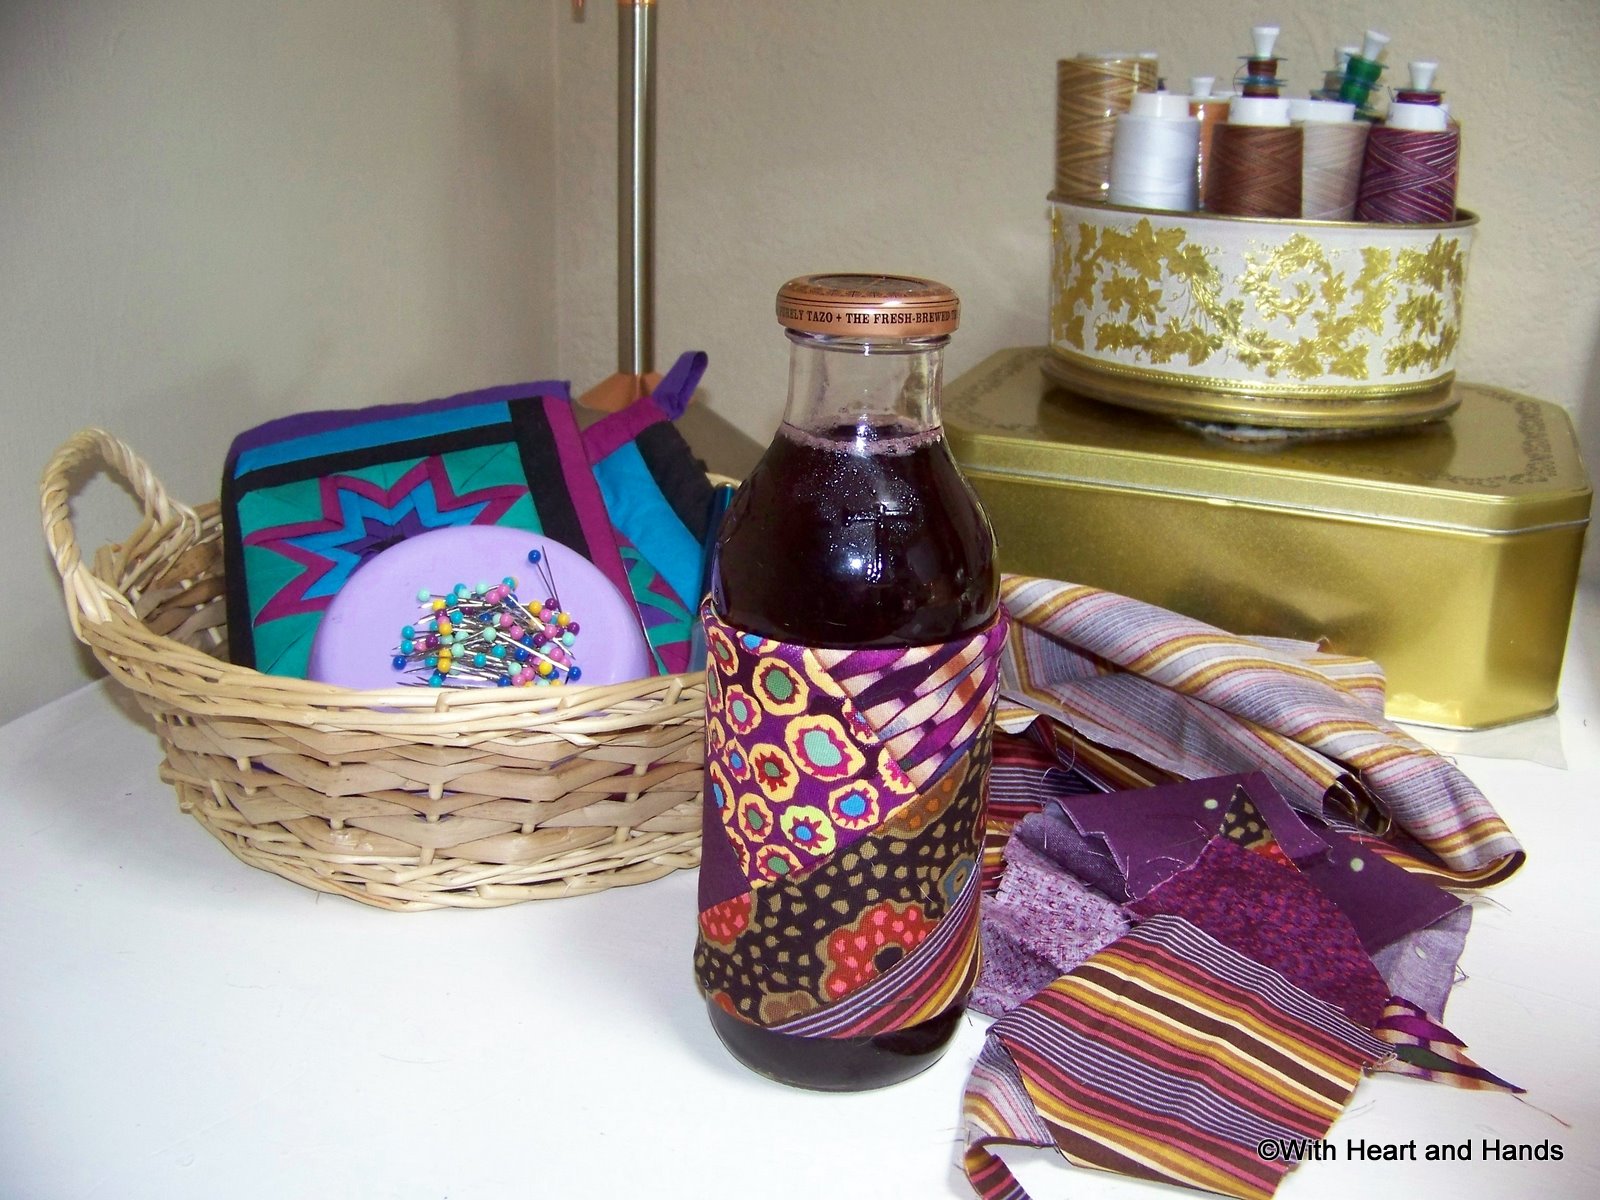
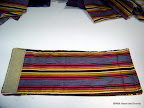
Just as magical is making my Frugal Friday Fun feature with a quick bottled drink wrap I made in literally minutes to bring along with its companions...my quilt pieced bag, cosmetic case and a fabric nosegay for my sunhat. They took a bit longer...
Using heat reflective batting, and making a pattern by simply wrapping a piece of paper around a bottle of choice, I grabbed a few scraps and quickly strip pieced a nice little bottle wrap. It not only identifies my water or drink bottle as belonging to me (after all we 'match') but shows my love of sewing as well as quilting;)
Quick Sewing Steps for Making a Bottle Wrap:
1.Make a paper pattern using your container as the model. I roughly traced the label size I could see through the paper. And no, I wasn't drinking when I drew my lines. I just couldn't stay within them and take photos at the same time! I've warned you before that I'm directionally challenged;)

2. Cut out your pattern from the the thin batting. I used a leftover scrap of heat reflective batting from a potholder project for mine, hoping it would keep the chill in and the heat out.


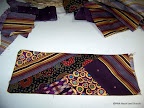
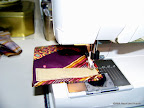
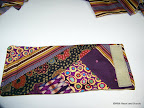
3. Begin your strip piecing onto the batting as your foundation fabric. Place your first scrap strip in the center...just like crazy or string quilting.

4. Add second strip, right sides together and sew together with 1/4" stitching (on one side only!) I'm heading to the right for a while but then I'll veer to the left.
5. Keep adding strips, changing direction across a different grain like crazy quilting if you wish.


6. Finished front; and back stitching. Now cut a backing piece. Try to cut straight, but if you can't it's frugal Friday and as long as you're not drinking you can veer off course if you want.

7. After sewing your two sections, right sides together....make sure you leave one end open or you'll never be able to turn it! Then, turn it right sides out. Now tuck those two raw edges under and pin the opening closed.
8. Sew by machine or by hand to close it up and prepare for your velcro closure.
9. Add velcro closures, one to each side at ends
.

10. Project completed and added to my co-ordinating set!
Making a bottle wrap is quick, easy, and fun. Mine will fit several different sizes of bottled containers and is ready to wrap and velcro on and use!
And it makes a great party favor! Use different individualized fabric choices for each person and never get your picnic or party drinks mixed up again!
5 comments:
Great tutorial. I hope you're having fun at the quilt show.
Very, cool!
And I'm so jealous of you getting to meet all those people at the quilt show. :)
Thanks Michele, I am going to make one of these. It is so easy to get bottles mixed up these days as everyone seems to carry them.
I hope you had a grand time at Sisters. I so wanted to go and waited until the last minute to make the decision. I was unable to make it. Boo Hoo. My vehicle needed repairs and that had to come first. I will await the pictures. I can hardly contain myself waiting for your report. Hopefully next year.
well, it looked great in person- and guess what? I beat you to putting up some photos of our day together-so there! loved every minute hanging out with you sweetie.
Post a Comment