
I have received a number of requests for a more detailed explanation for how I made my Prayer Pocket Pillow which I created for an earlier Pay It Forward gift. I decided to show the individual photos which made up the previously shown photo collage into their individual photos and adding a few descriptive instructions.
It certainly becomes a wonderful February project for a sweet Valentine's Day gift for a loved one and makes a delightful heartstrings quilting project! And strip piecing is so easy and is a wonderful way to use up quilting or sewing scraps. Directions for strip piecing a heart pillow:
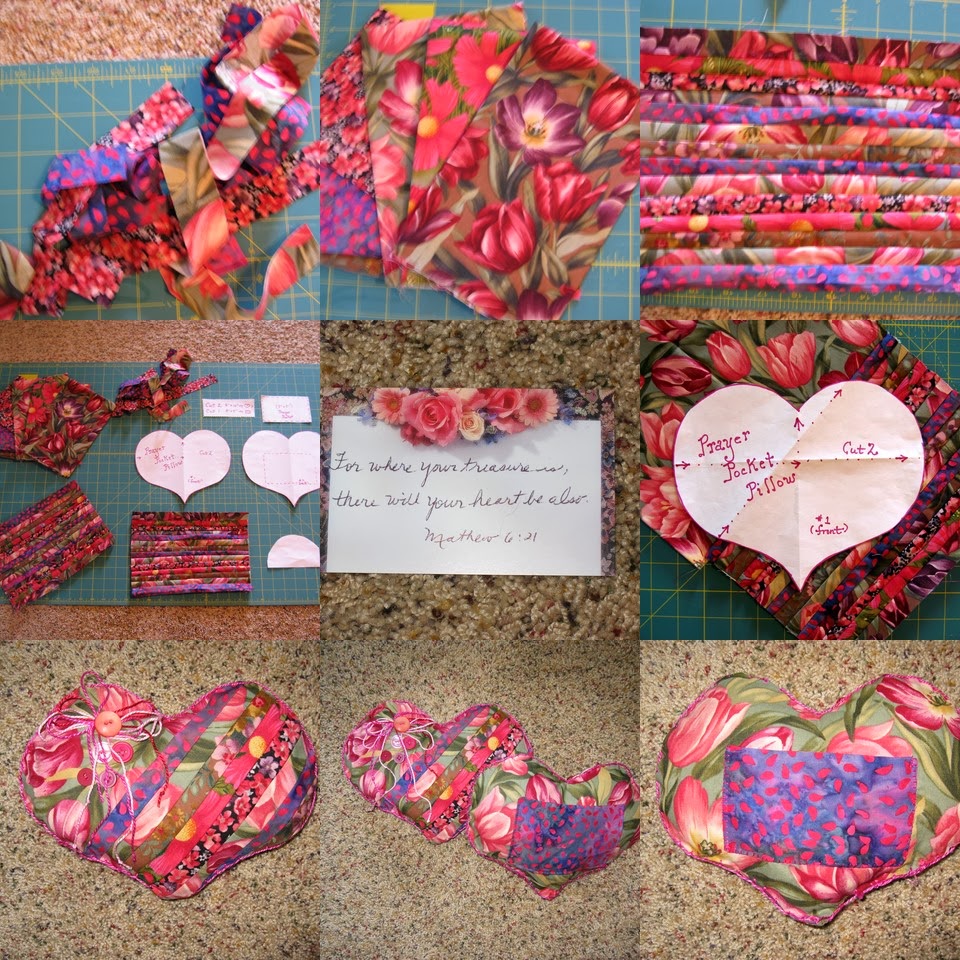
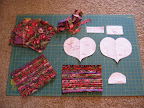
Step 1: Selection of co-ordinating fabrics. I used about half a dozen prints, similar tonal values... but varying print sizes. Select one of the fabrics to be your primary focal fabric and the others to make up the strips or strings in the pieced section.
Step 2: Set the designer focal fabric aside and cut the remaining fabrics into strips or strings of similar or varying sizes. Mine were all around the 1" to 1 1/2" width (with some variation.)
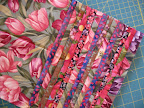
Step 3: Sew all of the assorted strip fabrics together in a pleasing arrangment of choice and attach them to the focal fabric. The pieced section should now be around 10"-12" in both height and width for a small pillow such as mine.
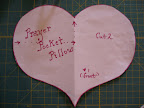
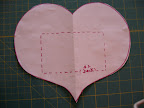
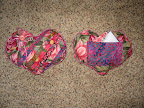
Step 4: Your 'pattern' will simply be a heart shape for both front and back sections. Add two pocket pieces for the back pocket (if desired.)
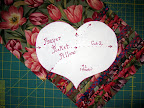
Step 5: Place pattern pieced onto string pieced fabric section and cut out. Be sure to position the front pieced heart section with the seam at a diagonal placement.
Step 6: Sew the two pocket sections, right sides together, leaving and opening for turning. Turn, press and stitch onto heart pillow back as shown on pattern.
Step 7: Seam the front and back heart pillow sections, right sides together, leaving an opening for turning right side out. Turn and stuff the little pillow with your filling of choice. (I simply used leftover batting scraps.)
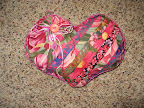
Step 8: Add decorative elements with ribbons, embroidery floss and buttons. As an extra, add a little card or other token of choice into the pocket. Tell someone just how much you love them or give words of encouragement to someone undergoing an illness. They are wonderful for anyone who needs to 'take heart' while undergoing chemo for cancer treatment or someone who is facing the battle of heart disease.
For Strip or String Piecing Quilt Directions or Patterns:String Quilting
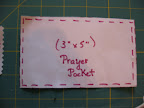
Note:The small version can be used as a prayer pocket pillow, a tooth fairy pillow or just a loving gift with a small note in the pocket. If you make a much larger version, they are perfect for use as a post-op pillow for a heart patient who can then use them to push against their chest wall for relief of post-op pain. Studies have shown that the pressure of a pillow against the heart chakra's pain from injury is a genuine psycho-spiritual aid as well as a physical one.
9 comments:
I've already printed out this post so I can have these directions in my studio. THANKS for sharing!!!
Thank you for the diretions. I love my pillow and I hope to make a couple for special people.
Michele, you're a genius! May I use this for a class of young girls? What a neat thing to have to show for their day!
thanks Michele, this is such a sweet idea. I have a friend who could just use an extra hug-this is fast and cute.
Thank you for the great tutorial! It would be a wonderful tooth fairy pillow as well :0).
Thank-you for your tutorial. I too have printed it out. I have to make a few gifts and the prayer/tooth fairy pillow is a great idea.
I'll try this again (there should be an edit button on comments don't you think?)
Very cute - the strings are perfect for it.
I love your blog and I have tagged you. Please visit my blog for details.
how clever! and very sweet-collection of hearts huh? I have a tub of heart fabric I collected years ago..it's out in the garage somewhere..loved catching up with your Alaska adventures!
Post a Comment