

The writer and activist Joanna Macy says:
"Work with your passion. Work with your pain. Work with what is at hand."
And to that, my own heart responds. For now, more than ever spiritual warriors are needed to feel the light and love within them and radiate that love to the darkest corners of hearts and souls every where.
Still your hearts from anger, fear, or hatred. Fill them up with love and peace. Our spirits know who we are, why we chose to be here during these incredibly challenging times.
Still your hearts from anger, fear, or hatred. Fill them up with love and peace. Our spirits know who we are, why we chose to be here during these incredibly challenging times.

"There must be peace in the nations.
If there is to be peace in the nations,
There must be peace in the cities.
If there is to be peace in the cities,
There must be peace between neighbors.
If there is to be peace between neighbors,
There must be peace in the home.
If there is to be peace in the home,
There must be peace in the heart."
Lao-Tse
Chinese philosopher
6th century bce

With life's many challenges ever increasing, how do we find peace in this horribly troubled world, this universal psyche that chooses the negative over the positive, the masculine over the feminine, the warring over the peace making and bridge building?


It must be personal as well as national, universal as well as international. We must care, and care deeply about one another in any and all life forms and we must use our hearts, our energies, and our time to do good, say good, and be good to the best of our abilities.


"There are those who give little of the much which they have
and they give it for recognition and their hidden desire makes their gifts unwholesome.
And there are those who have little and give it all.
These are the believers in life and the bounty of life,
and their coffer is never empty."
~On Giving by Kahlil Gibran from The Prophet~


None of these challenges are easy. But by supporting one another, doing the best we can from where we're at and always striving to be better and do better, we can move many mountains of endless challenges together.


Whenever we go through life's challenges whether for ourselves, our loved ones or for our world and its consciousness, we just need to focus on love and be caring - just because we can and because we need to lift ourselves up to lift up the spiritual consciousness of our world
We are the lifeboat that lifts up others. We must keep that life boat,healthy, spiritually wealthy, and wise with the inner wisdom of our intuitive and collective hearts.

If there is too much pressure within the Earth, it erupts in volcanoes or crack that then open into earthquakes. If the deep structures alter, shift and change the connecting structures do as well.
It is heart-breaking to see the sickness and the loss of so many all over our world. We feel each others pain when we perceive hunger or being without shelter clothing or medical care.
Lift up your hearts and send precious love, light, and compassionate and healing prayers for all. Your love is the light and the lifting up of a new world waiting to be recognized and acknowledged.

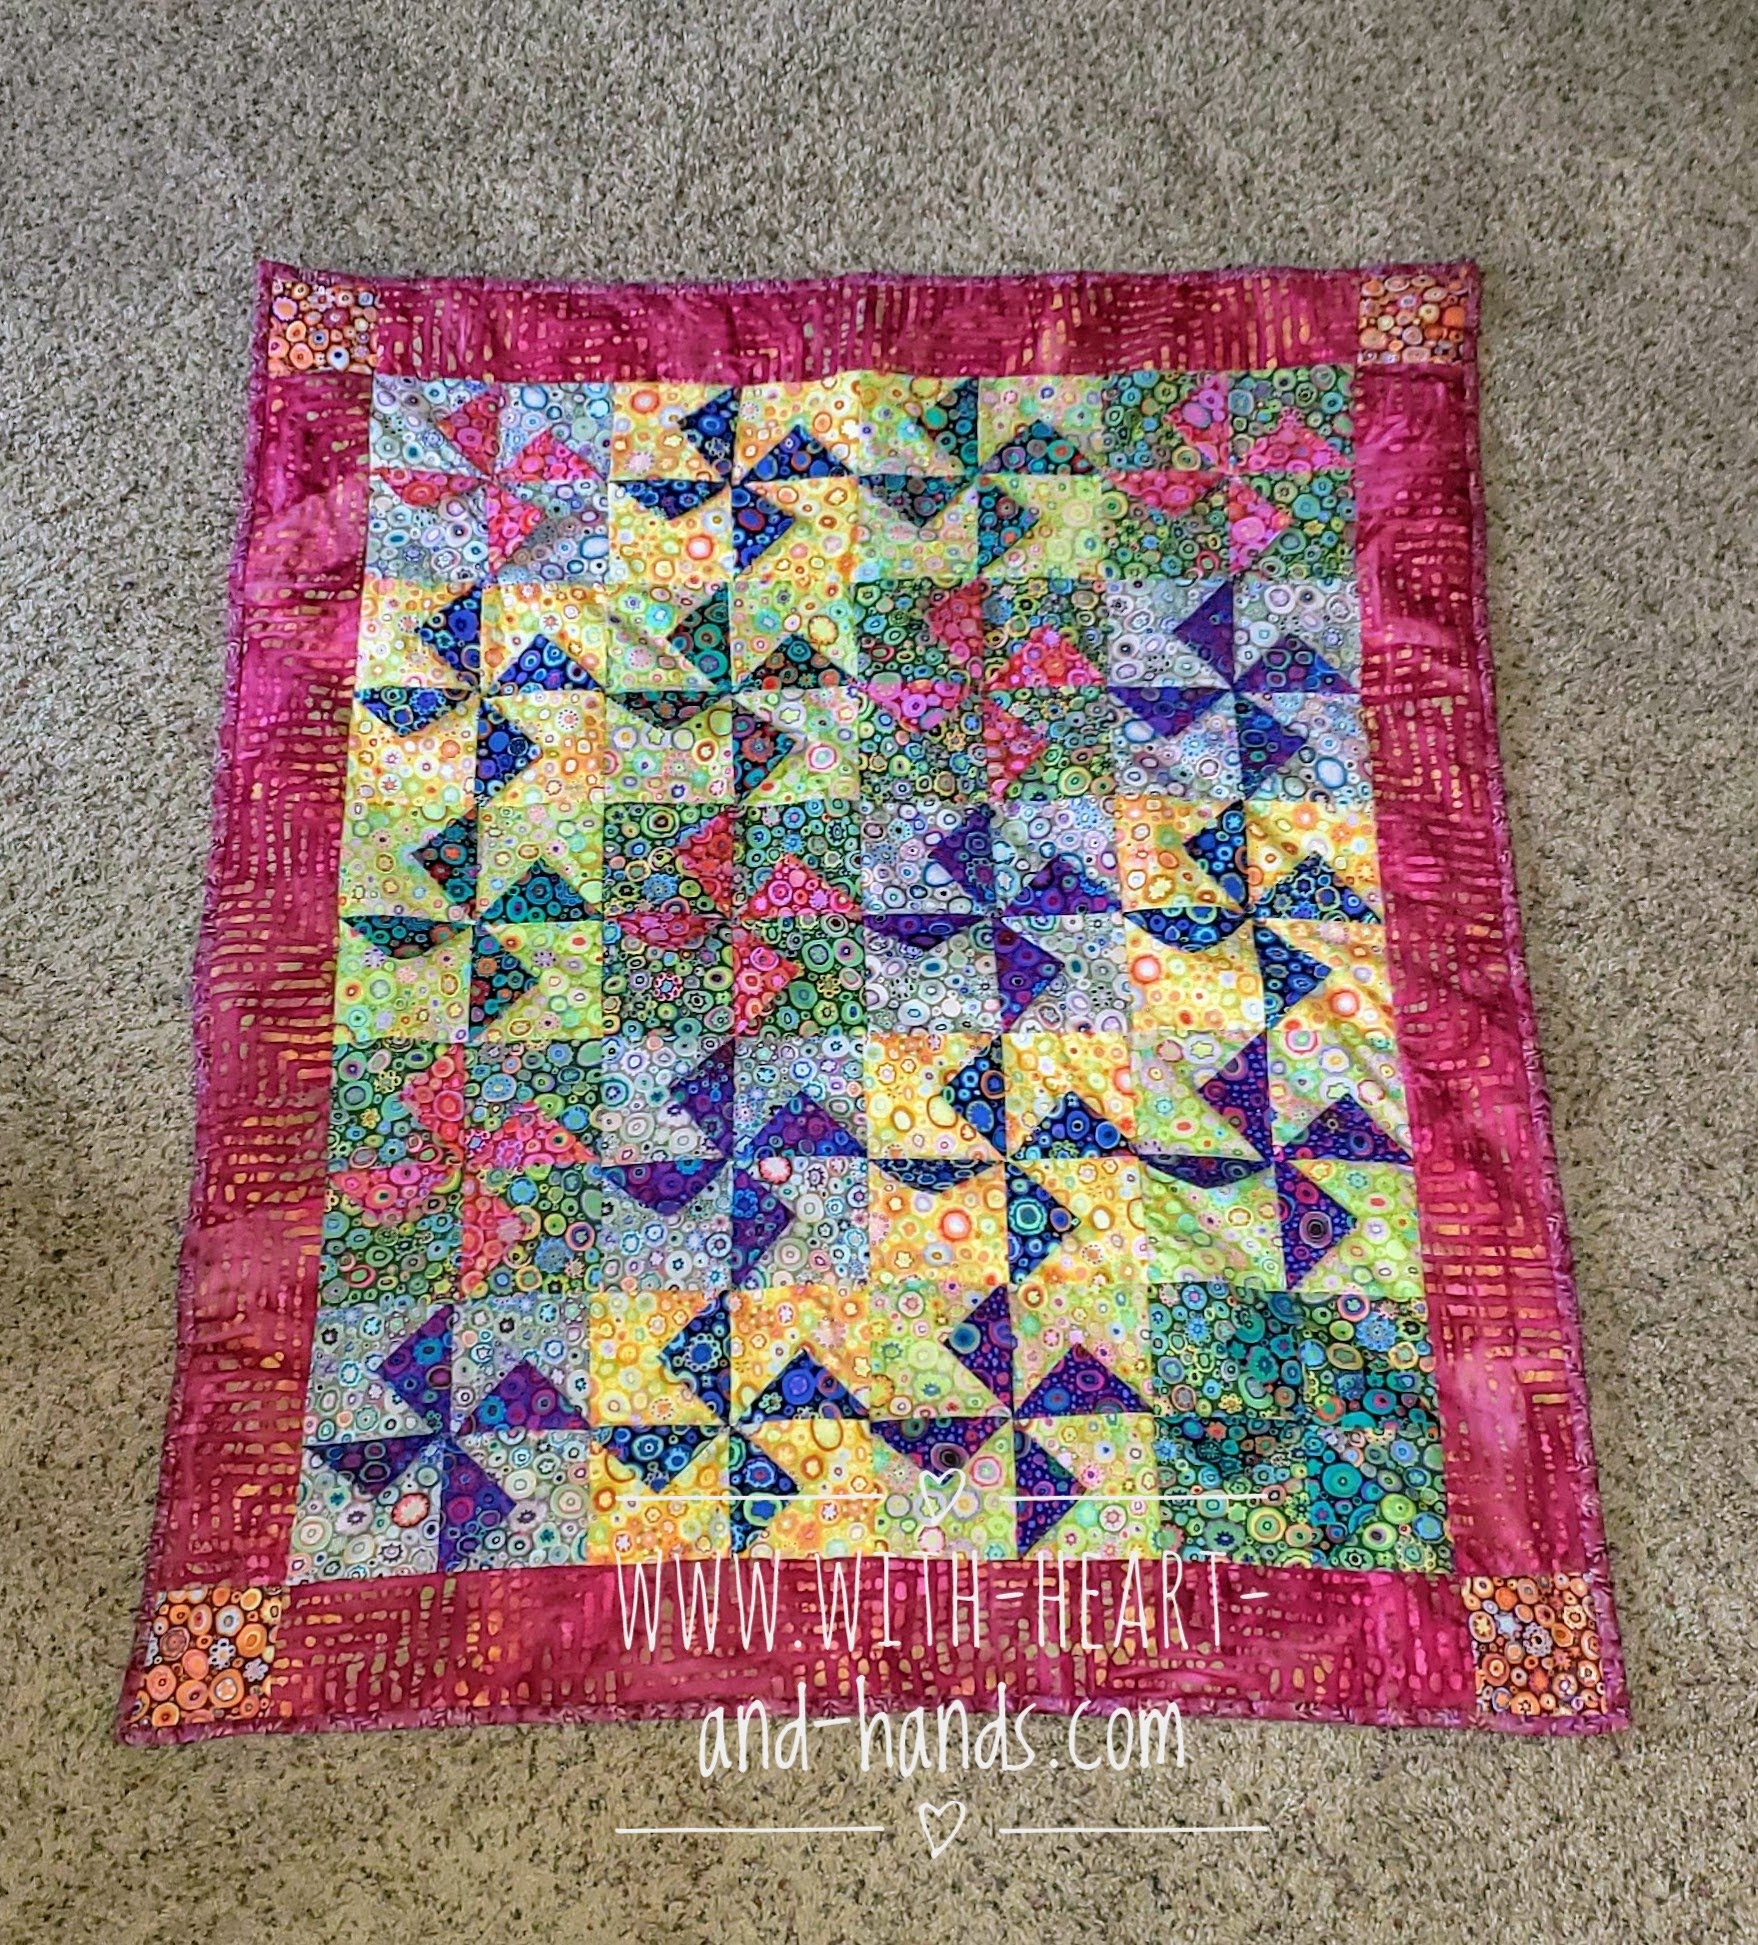
Making Fidget Quilts, Aprons, Pillows, Bags for Alzheimer's Patients: Free Tutorials and Ideas 2018
Every day is a gift, ever moment ours to treasure with loved ones taking care of ourselves, our pets and sharing whether long near or far with our children and grandchildren.


If there is too much pressure within us, we may erupt as well. And the damage we may do to others may be just as great emotionally as volcanoes and earthquakes are physically.
If we see Mother Earth as Gaia, a living breathing entity with her trees (and even plants and flowers) as her lungs if you will, then Gaia is losing her breath, just as we are losing ours by the ensuing smoke or destruction of precious rain forests and arable food growing land.


It may happen in an instant as there are infinite possi-bilities of outcomes from any action or even from any reaction.
Fate can hang on an instant and fate can be changed in an instant.


I remember just how patterns in nature, time and history balance the yin and the yang of change and transition to restore harmony both inside and out.
Even during times of harm to our beautiful land, when smoke clogs the sky, or fear clogs our lungs, we can put on our face masks, go out into our world, and be good and do good for others through our own positive thoughts, our own faith that this too will end and someday things will be better.


As time moves on through the upcoming decades of climate change, of additional contagion and all that comes with it - massive loss.
Loss of arable and therefore life supporting land, and loss of nature's beauty and our beloved animals and trees and flowers.

But for now; love, hope, and charity are rising up to fight the endless battle for survival. And survive we shall.
Love, hope, and charity are rising up as we look at the Dreamers and see them as we see our own children for we all have dreams
Love, hope and charity are rising as the flood waters rise, the wild fires destroy, the floods wash over the land as mother earth weeps for our separation from lov . We rush to another's aid as if they were one of our own--for they are.
Good people are helping those in need. Younger people reached out to the elderly in places like Reno and Las Vegas and did all of their shopping for the shut ins even as the viruses kept them 6' apart their apprecia-tion and care brings them together.
And we feel and we express gratitude with our gifts of the spirit, with our hands, and with our hearts.


We must act for the good of all and not the good of the elite few with the money and wherewithal at their personal disposal to thumb their noses and push us with threats of their nuclear buttons at the rest of us.

We are all part of one another.
My microscopic atoms are merged with yours like stars in the cosmos.
The pain that i feel is my pain, your pain, all pain.
The fouled air that I am breathing will become the fouled air and the foul breathing of yours. Your virus spreads almost instantly and can become my own.
What we do, what we say, how we hurt one we say, do, and hurt countless more including ourselves.
When we drop a bomb on one country, its repercussions and loss of awareness and love are felt by ours.
We are perpetrators and we are victims.
The winds of time and change merge into one and so do we.

And part of that is the destruct-ion of the old to make space for the new.
As someone who is old, that gives me pause. But, I am more than willing to go through whatever I have to in hopes that someday, a heaven on earth can become possible and a newer kinder, more caring and loving world might exist.

"Do not be dismayed by the brokenness of the world. All things break. And all things can be mended. Not with time, as they say, but with intention. So go. Love intentionally, extravagantly, unconditionally. The broken world waits in darkness for the light that is you.”
L. R. Knost

But I am so deeply sad that it has had to come to this. That the years and the decades ahead may be very challeng-ing for all of us. But still filled with purpose and hope for most of us.


I stand amidst the unbeliev-able green grass and plants and leaves of our early spring or the golden forest of my sunflowers in the summer that radiate love and hope and steadfast deter-mination to grow - not just where they are planted but to self-seed through the grace of the wind and its travelers the birds, who spread messages of hope and peace and rebirth.

For in my heart I know that we must care for each other as we care for ourselves.


"To be creative means to be in love with life.
You can be creative only if you love life enough that you want to enhance its beauty,
If you want to bring a little more music to it,
a little more poetry to it,
a little more dance to it.
~Osho

And it is not easy but we can do it.

Read this amazing prose poem:
It may just give you the strength and the understanding for facing the tough challenges of life now, and to come in the days ahead.


“To sew is to pray. Men don't understand this.
They see the whole but they don't see the stitches.
They don't see the speech of the creator in the work of the needle.
We mend. We women turn things inside out and set things right.
We salvage what we can of human garments and piece the rest into blankets.
Sometimes our stitches stutter and slow.
Only a woman's eyes can tell.
Other times, the tension in the stitches might be too tight because of tears, but only we know what emotion went into the making.
Only women can hear the prayer.”
Louise Erdrich
Four Souls


It's all in our attitude. And it starts with each of us. It's not always easy to do, and we do it as we do all things.
If there is to be peace in the world, there needs to be peace within you.
We are all connected and this world is one.

A catalyst to see the other as ourself. And to ask ourself, it this 'other' that upsets me so much, if these "other things" that upset me so, if the "lack of power" that I am feeling--is it mine or is it the others to do with as they need to in order to learn and to grow?

"Refuse to fall down.
If you cannot refuse to fall down,
refuse to stay down.
If you cannot refuse to stay down
lift your heart toward heaven
and like a hungry beggar,
ask that it be filled,
and it will be filled.
You may be pushed down.
You may be kept from rising.
But no one can keep you
from lifting your heart
toward heaven
only you.
It is in the midst of misery
that so much becomes clear.
The one who says nothing good
came of this,
is not yet listening.
Refuse to Fall Down"
Clarissa Pinkola Estés
Excerpted from The Faithful Gardener: A Wise Tale About That Which Can Never Die

Let that control go.
It is not of god/good/not of the divine. It is not of devil/evil. It just is.
It is not of god/good/not of the divine. It is not of devil/evil. It just is.
Let it go and be good in your heart,
In your love, in your care of all others and start with today.

So, often that is the catalyst that begins the war this day as you work on you.
Don't be dismayed. Go into the loving flow of kindness and be the higher you that you wish to project out into the world.

No matter your beliefs, you know this core truth; you want to be a beacon of love for yourself and inside of yourself so you can shine that light outwards to "others" and to the world

Peace in your heart creates peace in your world. And that is your soul's purpose--to create this peace by doing and being what you are called to do--wherever you are, at whatever level of learning you are.
You are surrounded by loving helpers and all of us are here for you.

And when it is all too intense,
when fear threatens to push into the boundaries of faith, hope, and charity and out into fear and chaos.
I go into my own heart, and I focus in a deeply meditative, prayerful, and spiritual way of doing those things that bring me peace.

I have been spending my time with family, with my children and beautiful, precious and beloved grandchildren, with time for nature, time for rest and my kind of meditative prayer, and yes -- even time for my chickens!
I join online groups, i take classes or find free ones on youtube, I read, I post on various forums and blogs, I cut twigs and ferns and flowers, I craft and I sew.
Being of service and doing good for myself and others is what I am meant to do!

I am doing my best to focus on the best world I know we can have, the best people I know each of us can be, the best hopes and dreams and wishes for full and caring lives for all of us.
And as I focus, and I pray and meditate for peace and love and hope and dreams, I hope you take a moment each and every single day and do the same.

Together we can create a new world, a new way of seeing, believing, and being.
"Out beyond ideas of wrongdoing and rightdoing there is a field. I'll meet you there. When the soul lies down in that grass the world is too full to talk about."
Rumi

Happy Day, Happy Somehow Each and Every Day and Especially,
Happy All Holi-days
For that is truly the derivation, the meaning and the purpose of all of our (Holi...Holy...Halen...Healing)
Holidays!


I love you all, take care of yourselves my thoughts and my heart is with you.

.jpg)
My Own Additonal Free Extras, Project Tutorials listed below:
Quilting Acronyms
2,500 Free Quilt Patterns
Huge List of Free Quilt Block Patterns
*Free Heart Themed Quilt Patterns
*Free Sewing Accessories Patterns
Free Sunbonnet Sue and Sam Patterns
Free Snowman Quilt Patterns
*Free Babies, Childrens Quilt Patterns
*Free Breast Cancer Awareness Quilt Patterns
Awareness Ribbons: Cancers/Other Diseases
*Angel Wraps and Preemie Blankets
*Free Patriotic Quilt Patterns
*Free St. Patrick's Day or Irish Quilt Patterns
Free Redwork and Embroidery Patterns
*Free Easter Quilt Patterns
Free Butterfly Quilt Patterns
*Hexagons: Qulting Ideas, Patterns, Papers
*How To Make A Quillow
*String Quilting:Tutorial and Free Patterns
*Bento Box Quilt Tutorial
Free Cross Stitch Patterns
*Liberated, Wonky, Modern, or Improvisational Quilting: Free Patterns and Tutorials,
Free Miniature Quilt Patterns
*String Quilting: Primers and Patterns
*Make a Magic 'Burrito' Pillowcase
*Making an Adult Bib
*Making a Heart Shaped Pillow
*String Pieced Prayer Pocket Pillow
*Make a Sewing Machine Pad With Pockets
Japanese Knot Bag Tutorial
*How to Make a Simple Petal Bag
*Liberated Rose:Free Piecing Tutorial
*Make a Scrappy Potholder
*Making a Coffee Press Wrap
*How To Make a Heart Potholder
*Make a Re-useable Shopping Bag: Pocket Pouched!
*Quilted Book or Journal Cover
*How To Make A Kuspuk
*Make a Wrist Pincushion
*Freezer Paper Photo Transfer
*How To Make A Fabric Postcard
*Blue Star Banner
*Fabric Shopping Bags Tutorial
Free Bag Tutorials: Wallets, Purses, Cases, Boxes, and Handbag Patterns
Free Apron Patterns of All Kinds
Free Valentine, Hearts, and Love Patterns of All Kinds

Michele Bilyeu Creates With Heart and Hands sharing an imaginative, magical, and healing journey from Alaska to Oregon and back again.
Creating,designing, sewing, quilting, and wildcrafting from my heart and with my hands.